Docker installation
Our Docker container includes everything you need to run DreamFactory, including Ubuntu 22.04, PHP 8.1, and the NGINX web server. It also includes all required PHP extensions and a sample Postgres Database. With these tools you can begin experimenting with the latest DreamFactory version as quickly as you can spin up the container!
Prerequisites
- Git
- Docker
- Docker Compose
Overview
The DreamFactory docker application is set up to use docker-compose. To build and deploy the application, follow these steps:
- Clone the docker repo
cd ~/repos (or wherever you want the clone of the repo to be)
git clone https://github.com/dreamfactorysoftware/df-docker.git
cd df-docker
- Edit the docker-compose.yml file (optional)
The docker-compose yaml file has default settings for installing DreamFactory, but you may wish to edit the persistent or sample database details, usernames and passwords, or ports to access the application. You must edit the docker-compose file prior to building and running DreamFactory for these changes to take effect.
- Build images with
docker-compose build
Running this after an initial deployment rebuilds the entire application unless you save and re-use the APP_KEY as described below.
- Start containers with
docker-compose up -d
This command spins up 4 containers:
df-docker-web
  - The DreamFactory application and web portal.
mysql:5.7
  - A MySQL container for the system database.
redis
  - A Redis instance used for caching.
aa8y/postgres-dataset
  - A PostGreSQL Database with over 100k records for testing.
Your terminal output should look like this:

- Access the Admin UI
By default, docker-compose is on localhost port 80. To access the application, open http://localhost or http://127.0.0.1 in a browser window.
The first time docker-compose is executed, it may take a few minutes to load and accept traffic. If port 80 is taken by another application, edit the docker-compose yaml file to use a different port (e.g. 8080) and return to step 3 above.
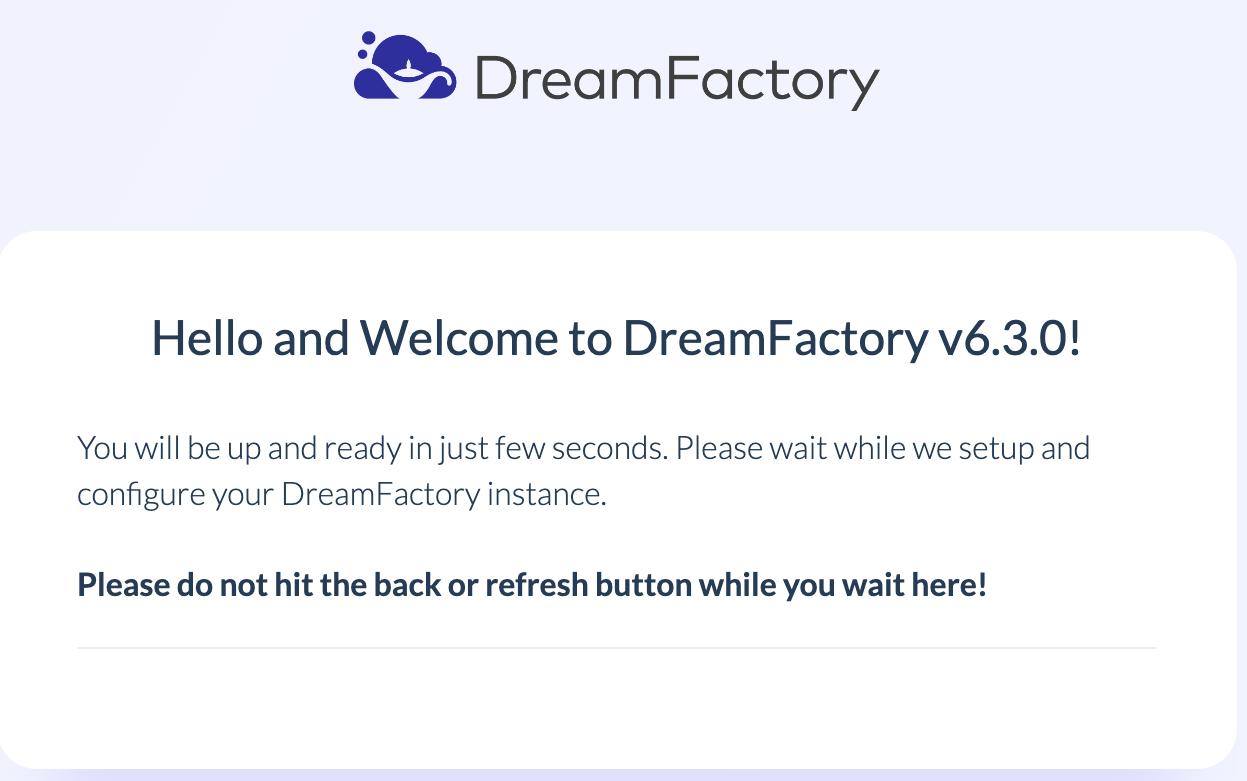
Once the web server is live, a splash screen displays briefly:

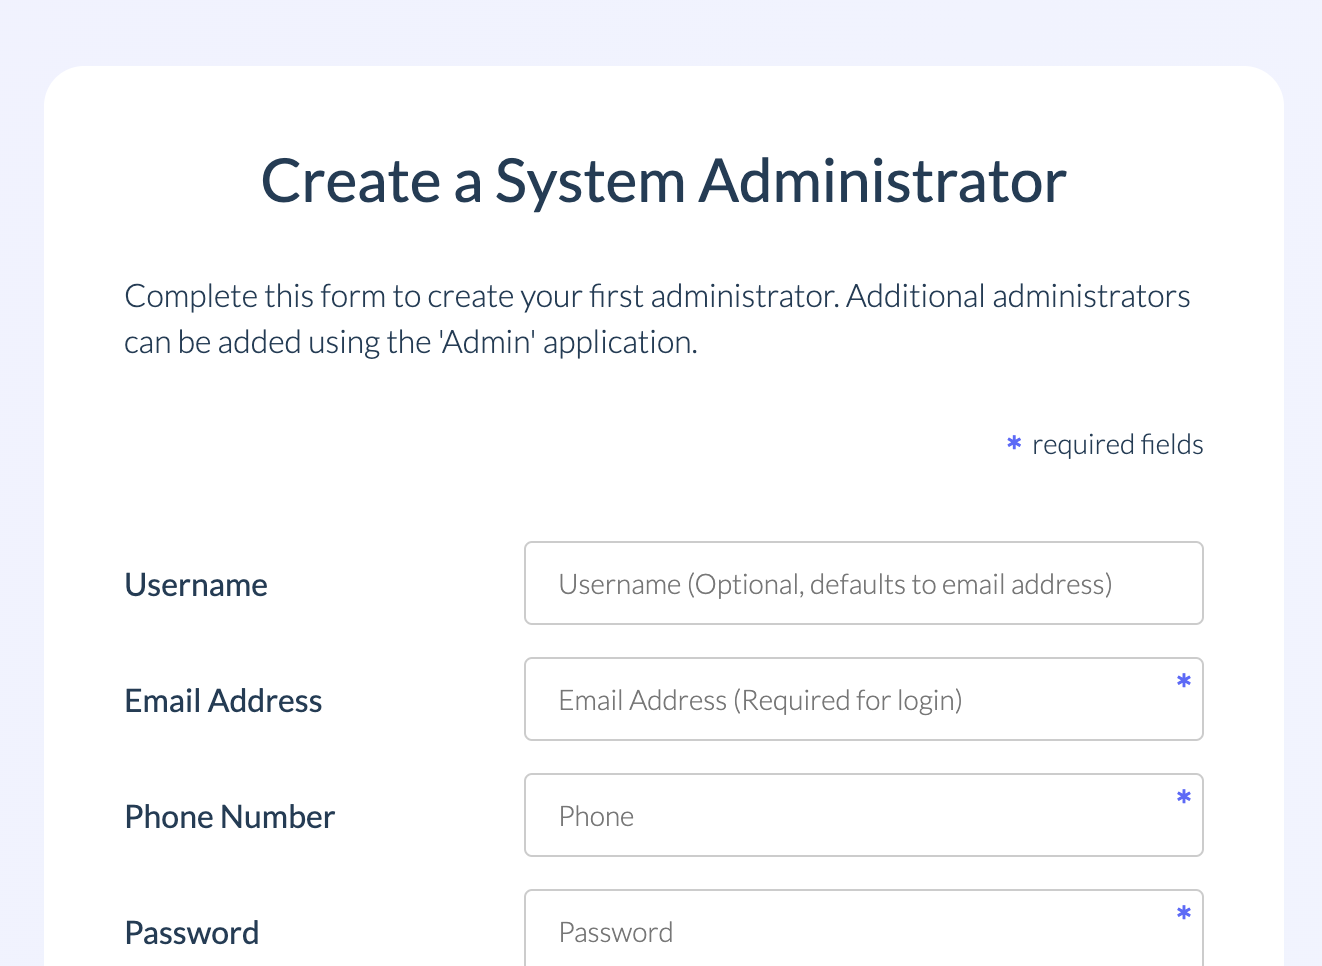
Continue waiting for the application to load and do not click back or refresh at this time. Occasionally the page loads before the DB migrations are completed. If that happens a light red screen with an error message displays. In that case it is safe to allow the jobs to finish and refresh the page. After a few minutes the Create a System Administrator page displays:

Complete the required fields and DreamFactory is ready to use!
Persisting system database configs
After you have spun up your DreamFactory instance, you should save the APP_KEY value from the .env file located in the web container's /opt/dreamfactory directory. This can be done with the following command while DreamFactory is running:
docker-compose exec web cat .env | grep APP_KEY
A few lines of output are display, but only need to copy the APP_KEY itself (everything after APP_KEY= through the final = sign).

Should you ever need to rebuild, set this value as the APP_KEY value in the docker-compose.yml file. Uncomment the line in services -> web -> environment and paste your key from the above output, wrapped in single quotes. This allows the new build to access the previous encrypted settings and prevent data loss and errors in the application.

If you've overridden other defaults such as database settings or ports, ensure that you backup your entire docker-compose file and compare your old values with the latest file. Skipping this step will lead to issues when upgrading.
Testing data
We mount a PostGres container with over 100k records to test without connecting your own data sets. To utilize the container, use the following connection details:
To retrieve the host IP, run: docker inspect <container-id for postgres> | grep "IPAddress"
Host: The docker IP from above
Port: 5432
Database Name: dellstore
Username: postgres
Password: root_pw
Use the settings above to add a new Database API Connection. This generates a fully documented and secure API from the PostGres container.
Adding a commercial license
If you are a commercial customer and have a license key for DreamFactory, you should:
- Add the license files to the
df-dockerdirectory - Uncomment lines 14 and 51 of the
Dockerfile - Add the license key to line 51 of
Dockerfile - continue with steps 2-5 above
Upgrading your Docker instance
As new features and enhancements are added to DreamFactory, you may want to upgrade to a newer version. To install a newer version of DreamFactory, you should:
- Backup your existing environment
As a best practice, you should back up your files and system database before attempting to upgrade to a new version. This includes extracting your APP_KEY from the existing docker container (see the Persisting system database configs section above).
-
Update your repo with
git pullandgit tag --listto see the tagged versions available. -
Stop the DreamFactory container without deleting it with
docker-compose stop(this brings the instance offline until the upgrade is complete). -
Check out the newer tagged version with
git checkout tags/{version}. -
Add the
APP_KEYto the docker-compose file (see above for instructions).
APP_KEY with single quotes.-
Modify any other settings in docker-compose as needed for your environment (compare the old docker-compose file with the new one as needed).
-
Save your changes and rebuild the container with
docker-compose up -d --build. -
Double-check that all services are running as expected with
docker-compose ps.
If any of the containers are not in a good state, you can view the logs with docker-compose logs web (or whatever container had the error).
- Once the containers are all up and running, check if the system DB schema needs a migration with
docker-compose exec web php artisan migrate:status. The output should look similar to this:

If any rows don't show Ran for the job, you must manually run the migration with docker-compose exec web php artisan migrate.
- The final step is to clear the configuration and cache with:
docker-compose exec web php artisan config:clear

docker-compose exec web php artisan cache:clear
After clearing the cache, open DreamFactory and verify the environment is operational.
Platform-specific instructions
The containerized application should be compatible with any platform that supports docker and docker-compose, but depending on your system configuration, you may need to edit the docker-compose.yml to meet your needs.
Mac M-series processors
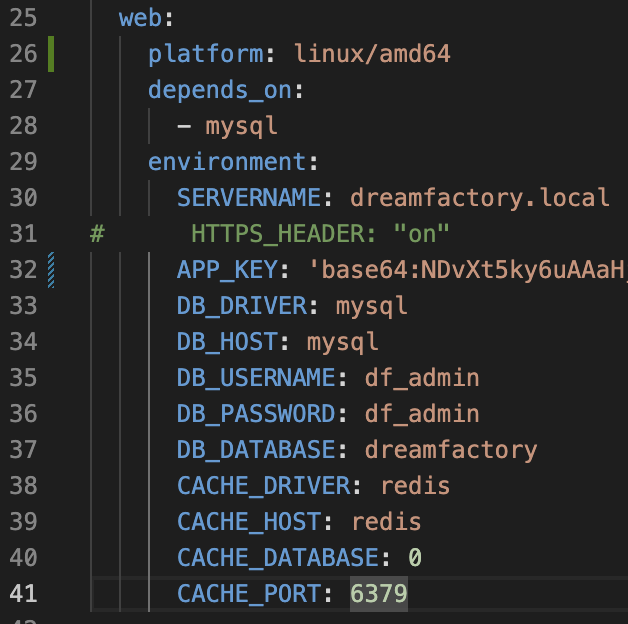
The docker containers were built on amd64 architecture. Docker Desktop for Mac allows you to specify the platform, even if you are running an M-Series (M1/M2/M3) processor, by adding platform: linux/amd64 to each service in thedocker-compose.yml file.
e.g.
version: '3'
services:
  mysql:
    platform: linux/amd64
    environment:
    ...
    ...
  redis:
    platform: linux/amd64
    image: redis
    ...
    ...
  web:
    platform: linux/amd64
    depends_on:
      - mysql
    environment:
    ...
    ...
After adding the platform setting, you can deploy the application on MacBook M-series processors using the instructions above.